Espresso University – Pressure Profiles for Espresso
In this installment of Espresso University by Flair Espresso, Lance Hedrick, the new darling of the espresso world, discusses pressure profiling (ahem flow profiling) on the Flair PRO 2. This episode is indeed a knowledge bomb – and the information that Lance provides will help any barista, from the beginner to the expert. Watch on and read below to learn more.
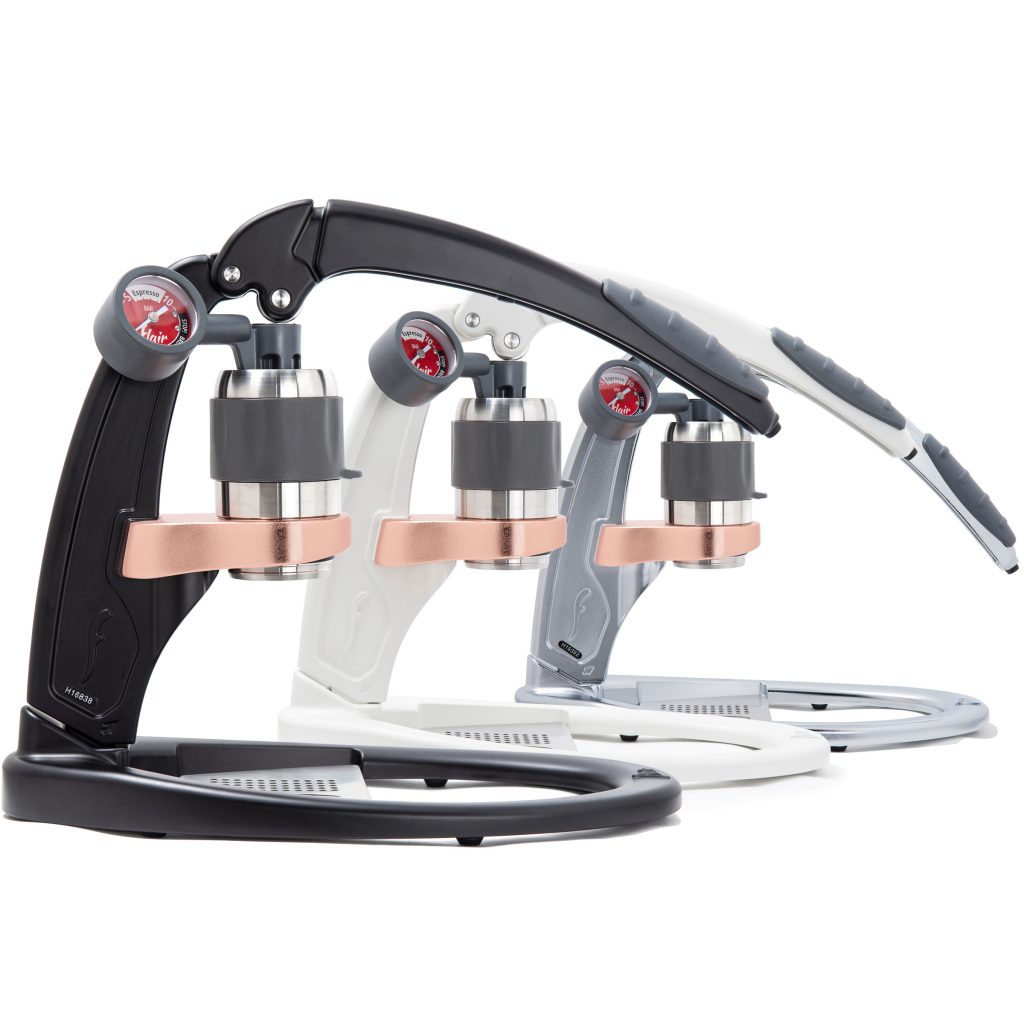
As mentioned, Lance uses the Flair PRO 2 in this video to help demonstrate the concepts behind pressure in your espresso extractions. Because the Flair PRO 2 is completely manual, every aspect of the brewing process is under the control of the barista, so it’s a great fit for this educational series. In the Flair PRO 2, as in all Flair manual espresso makers, you have an affordable option to profile in any way you wish. Lower the lever, and receive instant feedback on your pressure gauge to help guide you to the perfect cup of espresso.
As mentioned, Lance uses the Flair PRO 2 in this video to help demonstrate the concepts behind pressure in your espresso extractions. Because the Flair PRO 2 is completely manual, every aspect of the brewing process is under the control of the barista, so it’s a great fit for this educational series. In the Flair PRO 2, as in all Flair manual espresso makers, you have an affordable option to profile in any way you wish. Lower the lever, and receive instant feedback on your pressure gauge to help guide you to the perfect cup of espresso.

Flair PRO 2 Manual Espresso Maker
The Flair PRO 2 is the best in manual espresso that still comes in a portable package. Brew anywhere and get café-quality espresso all while benefitting from the immediate feedback and control of a manual system.
But, the first concept we need to talk about, is what Lance calls the “elephant in the room.” To him, pressure profiling isn’t the best term to use, because you can’t get pressure without input flow and resistance. In other words, without a puck of coffee, ground fine enough to create resistance when the water is forced through it, there would be no pressure! So, in this case, Lance feels like the term flow-profiling is synonymous, which will help us further down the line in understanding these concepts and applying them to our daily workflows.
In this video, Lance describes three sections of your extraction as it pertains to flow and pressure profiling:
Infusion – Infusion is when we ramp up to whatever pressure we are targeting. Lance prefers, with lighter roasted coffees, a lower pressure, targeting 6-8 BAR. This is because with lighter roasted coffees there is a lower puck integrity as compared to a darker roasted coffee, which can take even up to 10 BAR.
Taper – The taper phase is when we lessen the pressure, or flow, of the extraction throughout the pull as the puck of coffee is eroding. And this is where this video gets really interesting. As Lance says, when we extract espresso, and we force water through the puck, and coffee ends up in our cup, there’s less of it in the puck than when we started! The puck erodes through the shot, meaning there is a lessened mass and therefore lessened resistance.
In Lance’s opinion, and we tend to agree with him here, the requirement of many commercial espresso machines to hold a consistent 9 BAR of pressure through the puck during the entire shot was a terrible step backward for espresso. It increases the possibility of channels at the end of the puck, and raises the likelihood of bitters at the end of the shot.
This is where the Flair shines. Because of the completely manual nature of the Flair, we can easily taper shots as the puck degrades, which is a feature that’s nearly impossible to find in electric machines at the same price point.
We’ll leave the rest of the discussion, as well as the demonstration of Lance’s profile, for those that want to watch the video. But, as always, we hope you’ve enjoyed this educational foray into the world of espresso.
Until the next Espresso University video…
In this video, Lance describes three sections of your extraction as it pertains to flow and pressure profiling:
- Pre-infusion
- Infusion
- Taper
Infusion – Infusion is when we ramp up to whatever pressure we are targeting. Lance prefers, with lighter roasted coffees, a lower pressure, targeting 6-8 BAR. This is because with lighter roasted coffees there is a lower puck integrity as compared to a darker roasted coffee, which can take even up to 10 BAR.
Taper – The taper phase is when we lessen the pressure, or flow, of the extraction throughout the pull as the puck of coffee is eroding. And this is where this video gets really interesting. As Lance says, when we extract espresso, and we force water through the puck, and coffee ends up in our cup, there’s less of it in the puck than when we started! The puck erodes through the shot, meaning there is a lessened mass and therefore lessened resistance.
In Lance’s opinion, and we tend to agree with him here, the requirement of many commercial espresso machines to hold a consistent 9 BAR of pressure through the puck during the entire shot was a terrible step backward for espresso. It increases the possibility of channels at the end of the puck, and raises the likelihood of bitters at the end of the shot.
This is where the Flair shines. Because of the completely manual nature of the Flair, we can easily taper shots as the puck degrades, which is a feature that’s nearly impossible to find in electric machines at the same price point.
We’ll leave the rest of the discussion, as well as the demonstration of Lance’s profile, for those that want to watch the video. But, as always, we hope you’ve enjoyed this educational foray into the world of espresso.
Until the next Espresso University video…
Facebook
Twitter
LinkedIn
Pinterest


