Espresso Guide
What does it take to brew espresso at home?
Starting a home espresso kit can feel overwhelming, but we at Flair Espresso are here to cut through the clutter, and give you an honest assessment of what’s needed to get started – and how much you can grow with any at home espresso brewing system.
Trust us, it’s not scary at all – and getting started making delicious espresso at home is easier than you think. But remember, handcrafting espresso at home is a process, and is more like cooking a meal for yourself vs placing something in the microwave.
The Basic - But Required - Kit for Brewing Delicious Espresso at Home
The basic – but absolutely required – kit for making delicious espresso at home is relatively simple. You need:
- Freshly roasted beans – used within their peak freshness window
- A high-quality burr grinder that can handle espresso
- A kettle for boiling water, and
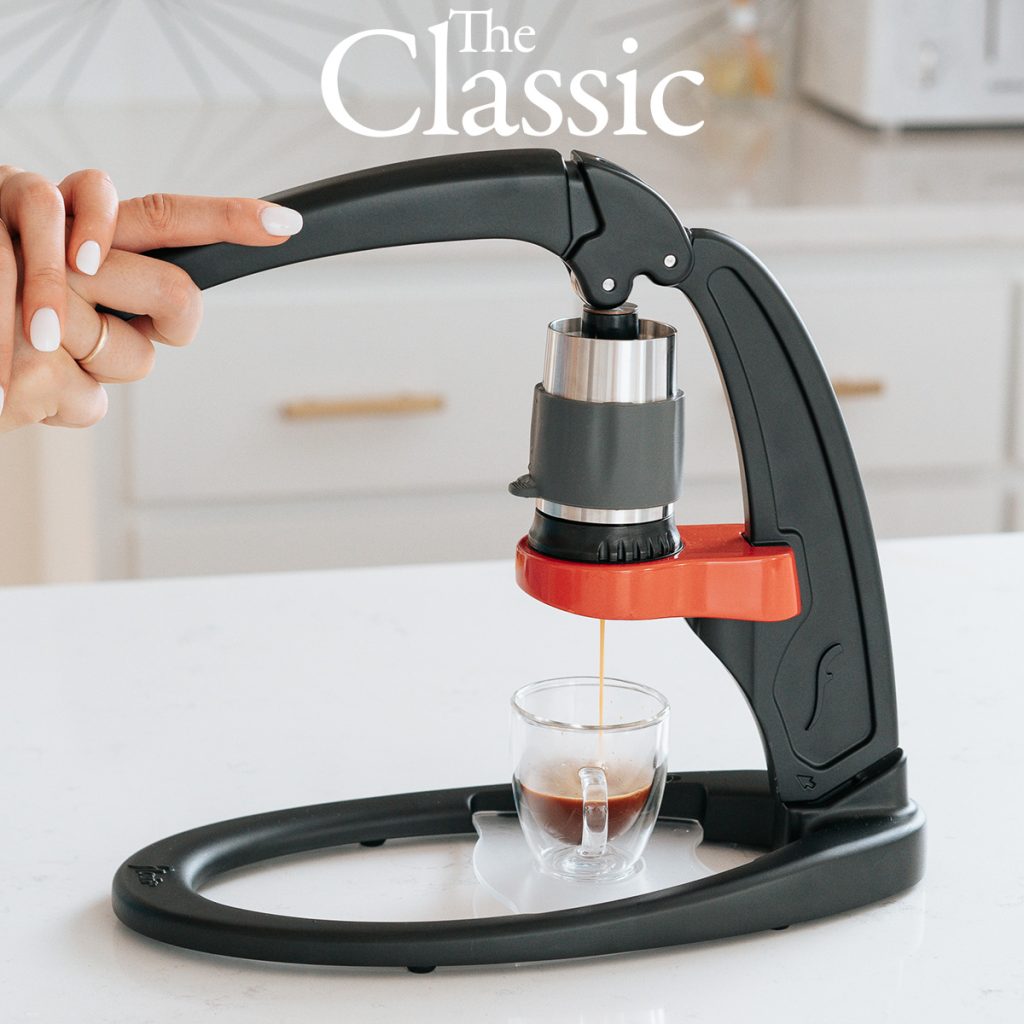
- An espresso maker, like our Flair Classic
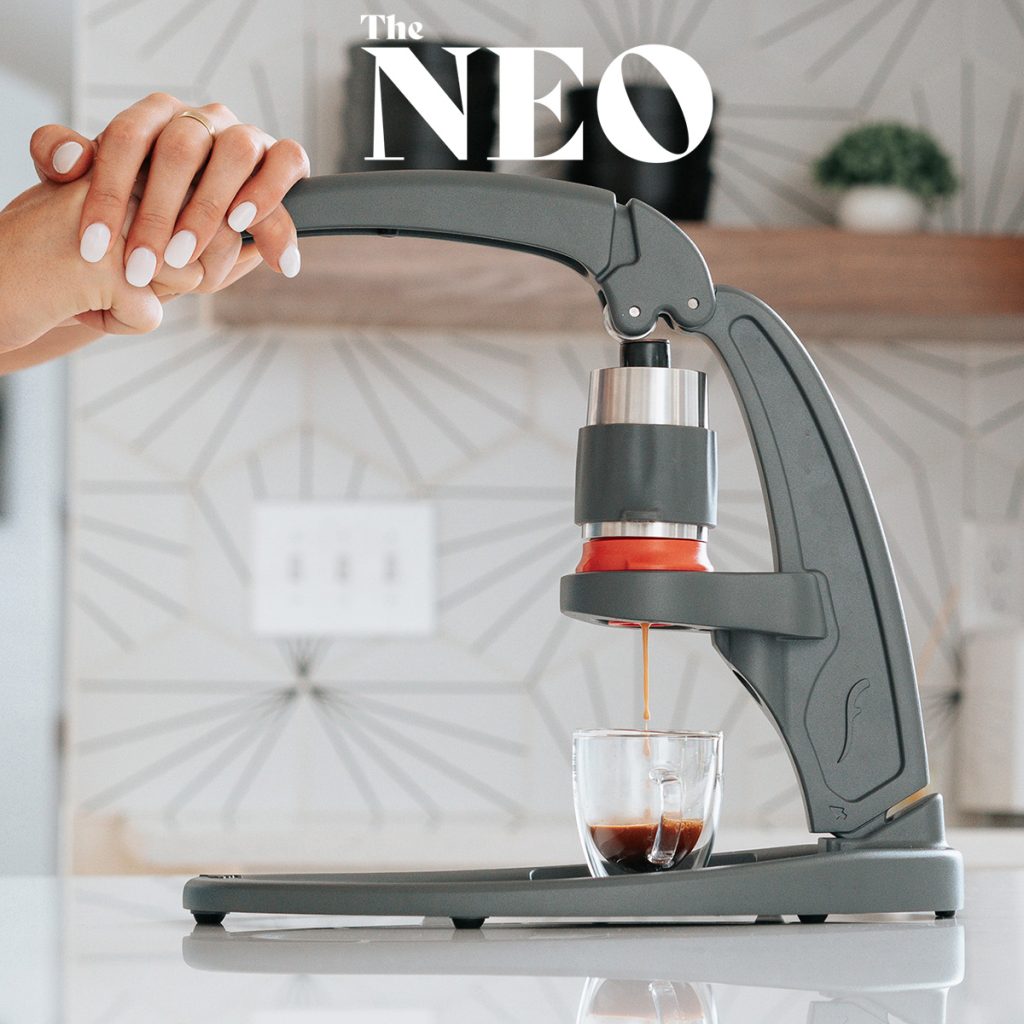
*But, with our Flair NEO, you can use almost any burr grinder you have – as its Flow-Control portafilter works to ensure proper pressure is achieved even with a too-coarse or inconsistent grind. The NEO is perfect for those just getting started – but as always, for the best results, you’ll want to use the best ingredients. – So let’s talk about each one of these components separately.
Using Freshly Roasted Beans for Espresso
Number one on the list of required items for espresso is freshly roasted, whole coffee beans. This might seem obvious, but the quality and freshness of your beans will greatly impact your espresso extraction. Beans that are too fresh will have an abundance of C02 in them, and beans that are too old can be stale and may not produce any crema. Pre-ground coffee, in terms of espresso, is never a good choice, even if your local café grinds the beans for you at time of purchase.
We recommend buying whole beans from a local specialty cafe, and making sure that the roast date is printed on the label. The normal peak freshness window for beans is roughly dependent on the roast level, and will start after a rest period. The peak freshness window for light, medium and dark roasted beans, as recommended by Flair, is below:
- Light Roast – Rest for two weeks, use within four weeks
- Medium Roast – Rest for one week, use within three weeks
- Dark Roast – Rest for three days, use within two weeks
Also to note, is that as your beans age, they will off-gas more, meaning less crema in your cup, and less resistance as you brew. Older beans will require a tigher grind as compared to fresher beans.
We recommend coffees from Onyx Coffee Labs or Black and White Roasters.
Grinding Beans for Espresso: Using a High-Quality Burr Grinder
While many people think that an espresso maker is the only piece of specialty equipment needed for espresso, we cannot stress enough how important a high-quality, espresso-capable burr grinder is to your workflow. Without it, you simply won’t be able to make espresso, because only a burr grinder with enough adjustment settings can produce consistently-sized grounds that are fine enough to produce the resistance needed to build pressure inside the basket.
That might sound like science jargon, but it’s true. The number one reason people write into our support channel is that their shot pulls too fast, with too little pressure. And the number one solution we give them is to get themselves a high-quality burr grinder.
Finding a high-quality burr grinder is easy, and many can be found from online retailers. These can be manual hand grinders or electric, but you’ll usually have to spend at least $100 dollars to get a high-quality setup. Flair Espresso’s Royal Grinder is a great manual option, and will help you brew delicious espresso on any of our machines.
If you don’t have a high-quality burr grinder – or aren’t willing to spend $100+ dollars, never fear. The Flair NEO is perfect for you, and can brew delicious espresso from burr grinders that cost less than $50.
Heating Water for Espresso: Using a Kettle
The second piece of required equipment for handcrafting espresso at home is a kettle to heat your water. At the most basic level any kettle will do, and stove-top options that heat on your burner are 100% acceptable. So, if you’d like to start with what you have, you 100% can! We do believe that almost everyone has some type of stovetop kettle at the ready.
Upgrading from a regular stovetop kettle though, we’d recommend two key features:
- A gooseneck kettle and,
- A kettle that has the ability to heat to different temperatures.
The reason for the gooseneck is that it will make pouring your brew water into your espresso maker much easier, with less chance for spills. The importance of the temperature management is that you can then be certain what temperature your brew water is at, and you can modify this for the different types of espresso roast you’re using as you dial-in your espresso. Light roasted beans typically need hotter water – close to 95° C, while dark roasted beans use water that is closer to 85° C.
Our recommendation for a great gooseneck kettle that also has temperature control is the Brewista Artisan Electric Gooseneck Kettle.
Brewing Your Espresso: Which Espresso Maker is Right?
The third required piece of equipment you’ll need to enjoy espresso at home is an espresso maker. We at Flair have dedicated our business to creating a full line of manual espresso machines that caters to any price point and experience level.
The Flair is probably the most simple real espresso maker we know of. That’s because we designed it to remove all the buttons and gadgets, and concentrate on what’s really important in espresso brewing; forcing hot water, at pressure, through a finely ground bed of coffee. You’ll notice that in that last sentence, we mentioned all four of the required tools for brewing espresso! For hot water, you need your kettle. For finely ground coffee, you need your high quality burr grinder that grinds freshly roasted beans. And the ability to force the water through the grounds is provided by the Flair espresso maker.
We’ve been told many times that espresso brewing on the Flair is simple, but that it also provides the most control over the process, even when compared to espresso machines that cost thousands of dollars. And a wonderful feature of the Flair family of products, is that most are upgradable, meaning that as you grow in your espresso abilities, you can add accessories to enhance your workflow and process.
So, the two most basic manual espresso makers that Flair sells are The NEO and The Classic, and these can be considered the starting point for great espresso. The differences between the NEO and the Classic, is that the NEO features Flair’s Flow-Control Portafilter, which helps build pressure to ensure a consistent and even extraction, regardless of how well you’ve ground your beans. This means that with the NEO, you can use any grinder, and you’ll get decent results in your cup.
The Classic, on the other hand, features a bottomless portafilter, which means a high-quality burr grinder is required to ensure a good extraction at pressure. So why would anyone choose the Classic over the NEO? It’s because being able to dial-in and control your shot is the best way to ensure you like the results of your extraction. On the NEO, you can’t control and change your variables like your extraction time or your pressure profile. But on the Classic, and any Flair espresso maker above it, like our Signature, PRO 2 or Flair 58, you can do whatever you’d like!
Optional Upgrades to Enhance Your Espresso Brewing Workflow
Managing Your Flow and Profile with a Pressure Gauge
First up is a pressure gauge. It is now generally accepted that specialty espresso is brewed between 6 and 9 BAR of pressure, with the brewer being able to select the exact pressure to ensure their shot of espresso isn’t under or over extracted.
Without a pressure gauge, it is impossible to tell what pressure you’re brewing at, and so we at Flair have created a beautiful and custom gauge that can be used on any of our espresso makers. Indeed, this gauge comes standard on our higher-end models, starting with the Flair Signature, but for those that chose to start with a Flair NEO or Classic, this gauge is available for only $56 dollars and is readily compatible.
Using a Scale to Manage Your Dose and Espresso Brew Ratios
Use of a scale while brewing is a key upgrade that any home barista will need to improve the level and quality of their extractions. Really, there are two major benefits to using a scale as part of your espresso workflow:
- The first benefit is that you can accurately dose your coffee before grinding. This is important because ensuring the consistency of your espresso relies on knowing the weight of your coffee that you use in each shot; resistance is a function of grind size but also dose Without a scale, this is impossible!
- The second benefit is that you can use the same scale to measure how much espresso you are extracting from your Flair espresso maker. Knowing the ratio of your input to your output allows you to pull different recipes with your espresso maker, such as a 2:1 shot, or a 3:1
In addition to the two basic benefits a scale provides – more experienced espresso brewers will also want to manage their flow rate with a specialty scale that can track the grams per second that is being extracted.
In terms of price, scales can range from simple electric units to high-end specialty scales made for coffee brewing. In general, we think that if you’re going to upgrade to a scale, spending the money will be worth it. Our recommendation is the Acaia Lunar, which can be found here.
Making Latte Art For Your Cappucinos and Lattes
Okay, you don’t just want to drink straight espresso at home, we get it, and you’re not alone. The vast majority of beverages made from espresso at a coffee shop or café have milk in them, either in the form of a latte or a cappuccino. But how do you get that delicious foamy beverage in your home that will meet all your requirements? The answer is a milk frother.
Milk frothers come in many different shapes and sizes, prices and styles. They range from simple and easy to use, more like an electric stirring wand, to full steam wands. In our experience, these can be separated into three categories:
- Hand-held Frothing Wand
- Electric Heating and Frothing Cup
- Steam-powered Frothing Wand
The hand-held frothing wand will be the most affordable option, but does require that you heat your milk separately, like on the stove or in a microwave. These options take some getting used to, and the most inexpensive options on Amazon won’t give you the froth needed for latte art. If you’re interested in a hand-held electric wand, we suggest you go for the Nanofoamer, by subminimal, which we sell on our website. This wand is made for latte-art, and is the most affordable option we can find.
An electric heating and frothing cup, like the Bodum Bistro series, will heat and froth milk simultaneously, all inside a single cup you can use to pour into your espresso. Buyer beware here, we haven’t had great latte art results with this foam, but it closely mimics the consistency you’d get from a café, and considering it’s a heater too, this is a great option for those that want ease of use and convenience.
Finally, a steam-powered wand, like something you’d find in your local café, can be used and is your best option to replicate the latte art you’d find in a high-end, third wave cafe. The Bellman is a good option here, but using this tool isn’t the easiest. Because the Bellman requires real steam to operate, it must be heated on the stove before each use, a process which takes up to five minutes. But, once the steam is up to pressure inside the steamer, using the wand is simple and straightforward, and allows you to practice your latte art – which is a whole other process entirely!
So that’s it – those are the required, and optional additional accessories, that any home barista needs to handcraft espresso at home.


